What Is a Brushed Finish?
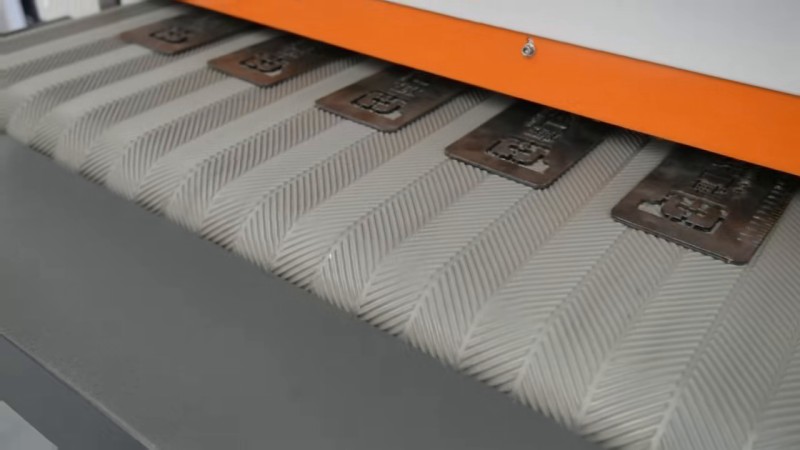
A brushed finish—also called a satin finish or hairline finish—is a unidirectional scratch pattern applied to metal surfaces to create a uniform, low-glare appearance. It is the standard cosmetic treatment for stainless steel appliances, elevator panels, architectural trim, kitchen equipment and automotive accessories. The finish hides minor scratches that occur during handling, reduces fingerprint visibility and gives the product a premium look that plain mill finish cannot match.
Why Laser Cutting Ruins the Finish
Even if you start with a pre-finished brushed sheet, laser cutting destroys the grain pattern along the cut edge and often leaves heat tint, slag and oxide streaks on the nearby surface. The heat-affected zone (HAZ) can extend 3–5 mm from the cut line, altering the surface texture and color. Attempting to blend this zone by hand is nearly impossible; the result is usually a patchy, discolored border that is more noticeable than the original defect.
The Brushing Process Step by Step
Step 1: Deburr and Clean
Before brushing, all burrs, slag and sharp edges must be removed. A rotary brush deburring machine with nylon brushes breaks the edge and removes loose oxide without damaging the surrounding surface. The part should then be wiped with a clean, lint-free cloth to remove cutting fluid, fingerprints and dust. Any contamination left on the surface will be dragged by the abrasive brush, creating scratches that cannot be removed later.
Step 2: Select the Abrasive Tool
The scratch pattern is determined by the abrasive type and grain size:
- Non-woven flap roller – Creates a soft, diffused satin finish (#3–#4). Best for appliances and architectural panels.
- Wire brush – Produces a coarse, decorative grain. Used for rustic or industrial aesthetics.
- Flapper wheel with oriented strips – Creates a precise, linear hairline finish. Requires exact alignment of the scratch direction to the part length.
Step 3: Set Machine Parameters
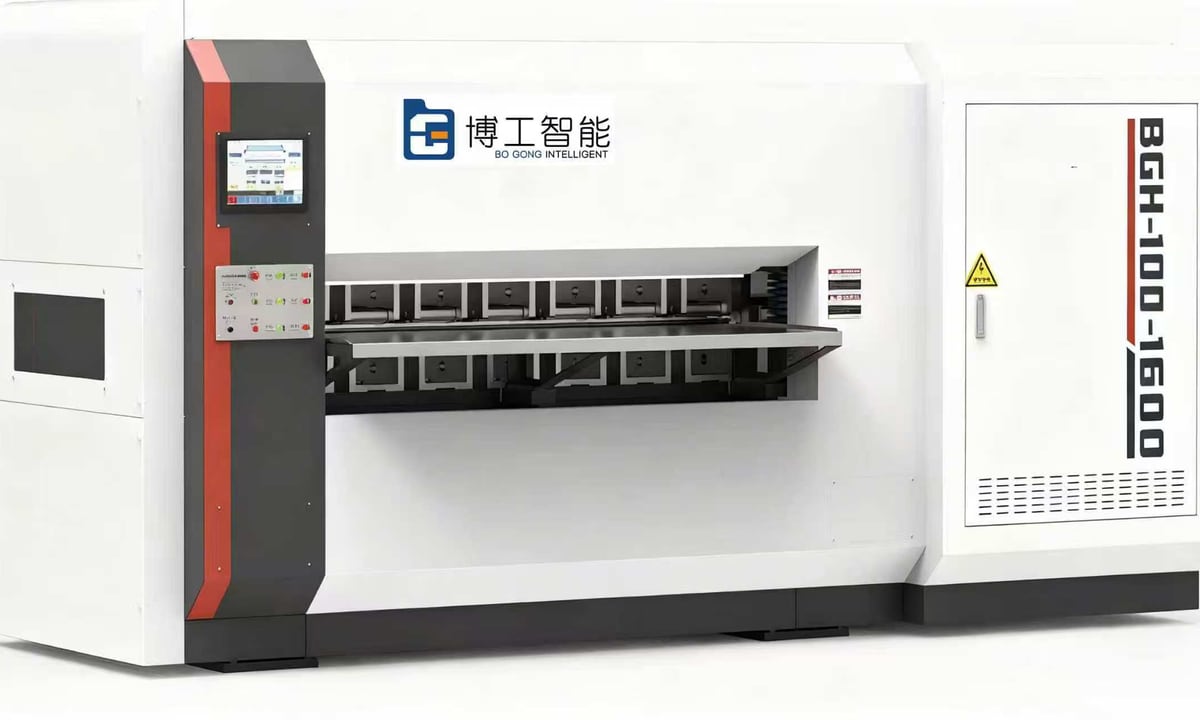
On an automatic metal finishing machine such as the BG-FM-1000, adjust the following:
- Conveyor speed: 4–12 m/min. Slower speeds deepen the scratch; faster speeds lighten it.
- Brush rotation: Clockwise or counter-clockwise relative to conveyor travel determines whether the grain is straight or slightly crossed. For a pure longitudinal grain, brushes rotate perpendicular to travel direction (planetary head).
- Pressure: 0.3–1.0 bar. Excessive pressure closes the grain and begins to polish, which looks like a smear under light.
Step 4: Pass the Part Through
Feed the part square to the conveyor. Even a 2° skew will create a visible diagonal scratch that conflicts with the main grain. For large panels, use side guides or a squaring fence. After the first pass, inspect the finish under a raking light (a handheld LED at 30° to the surface). If the grain is too light, reduce conveyor speed by 10 % and pass again. If too heavy, increase speed or switch to a finer abrasive.
Step 5: Protect the Finish
Freshly brushed stainless steel is vulnerable to fingerprints, oil and moisture. Immediately after brushing:
- Blow off residual abrasive dust with clean, dry compressed air.
- Apply a peelable protective film (PE film with low-tack adhesive) if the part will be stored or transported.
- For outdoor architectural panels, consider a clear passivation coating to preserve the grain and resist atmospheric staining.
Common Defects and How to Avoid Them
| Defect | Cause | Solution |
|---|---|---|
| Patchy grain | Uneven pressure or worn brushes | Replace brushes; calibrate pneumatic cylinders |
| Heat tint | Excessive friction on stainless steel | Reduce pressure; switch to wet operation |
| Crossed scratches | Part skewed on conveyor | Add side guides; train operators on square feeding |
| Oil streaks | Residual cutting fluid or fingerprints | Pre-clean with alcohol wipe before brushing |
Conclusion
A brushed finish transforms laser-cut parts from raw fabrications into premium products. The key is to remove burrs first, choose the right abrasive, set consistent machine parameters and protect the surface immediately after processing. With an automatic finishing machine, even a junior operator can produce showroom-quality results all day long. Contact us for sample testing and we will demonstrate the exact finish your market demands.
Need a machine recommendation?
Send your workpiece drawings, material type, burr condition and target surface finish. We will suggest the right sanding machine and give you an FOB price range.